Have you recently purchased our Dash Poncho?
DO NOT DRIVE WITH THIS PRODUCT ON YOUR JEEP or BRONCO!
Here are some tips we recommend for optimal suction and adherence to your windshield.
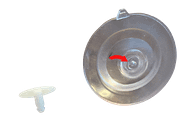
Before using the Dash Poncho for the first time, clean your window and the suction cups. Make sure both are dry. Make sure you push the cups completely to the window, with no air between them. If the weather is especially hot or cold, that can make them less effective. When the suction cups get old and are not as pliable, we recommend replacing them.
We live in Texas, where it is HOT most of the year. We recommend that during your hotter months if the cups are on the windows for extended periods, they can become less effective. We have found that some Krazy Glue or Locktite in the provided thumbtack before hanging helps prevent this.
The instructions below are also included with your Dash Poncho, and a QR tag is available for quick reference.
1. Before installing your Dash Poncho, ensure suction cups are installed on the top of the Poncho. Punched holes are provided.
2. Adding a drop of super glue to secure the thumbtack to the suction cup before first use is recommended.
3. Along the top of your JEEP windshield, remove any stickers or labels on the interior that may cause the suction cups not to stick. This is highly recommended if you want maximum protection. We put our required tags or stickers on the bottom left side of the windshield.
4. Next, center the Poncho on the windshield and use the suction cups to hold the Dash Poncho at the top of the windshield. We like to flip down our visors for extra security.
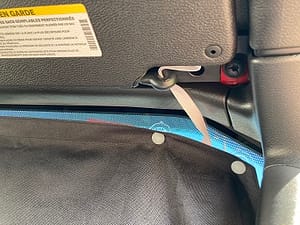
5. Hook the bungees to locations on your JEEP that will secure the Poncho to your dashboard. You can hook it to the mirrors, hinges, bottom of the dash, or center console—instruction videos on dashponcho.com home page.


